Step 1: Open Your SharePoint Site
- Navigate to Your SharePoint Site: Open your preferred web browser and go to your SharePoint site.
- Sign In: Enter your username and password if prompted. This will take you to the main page of your SharePoint site.

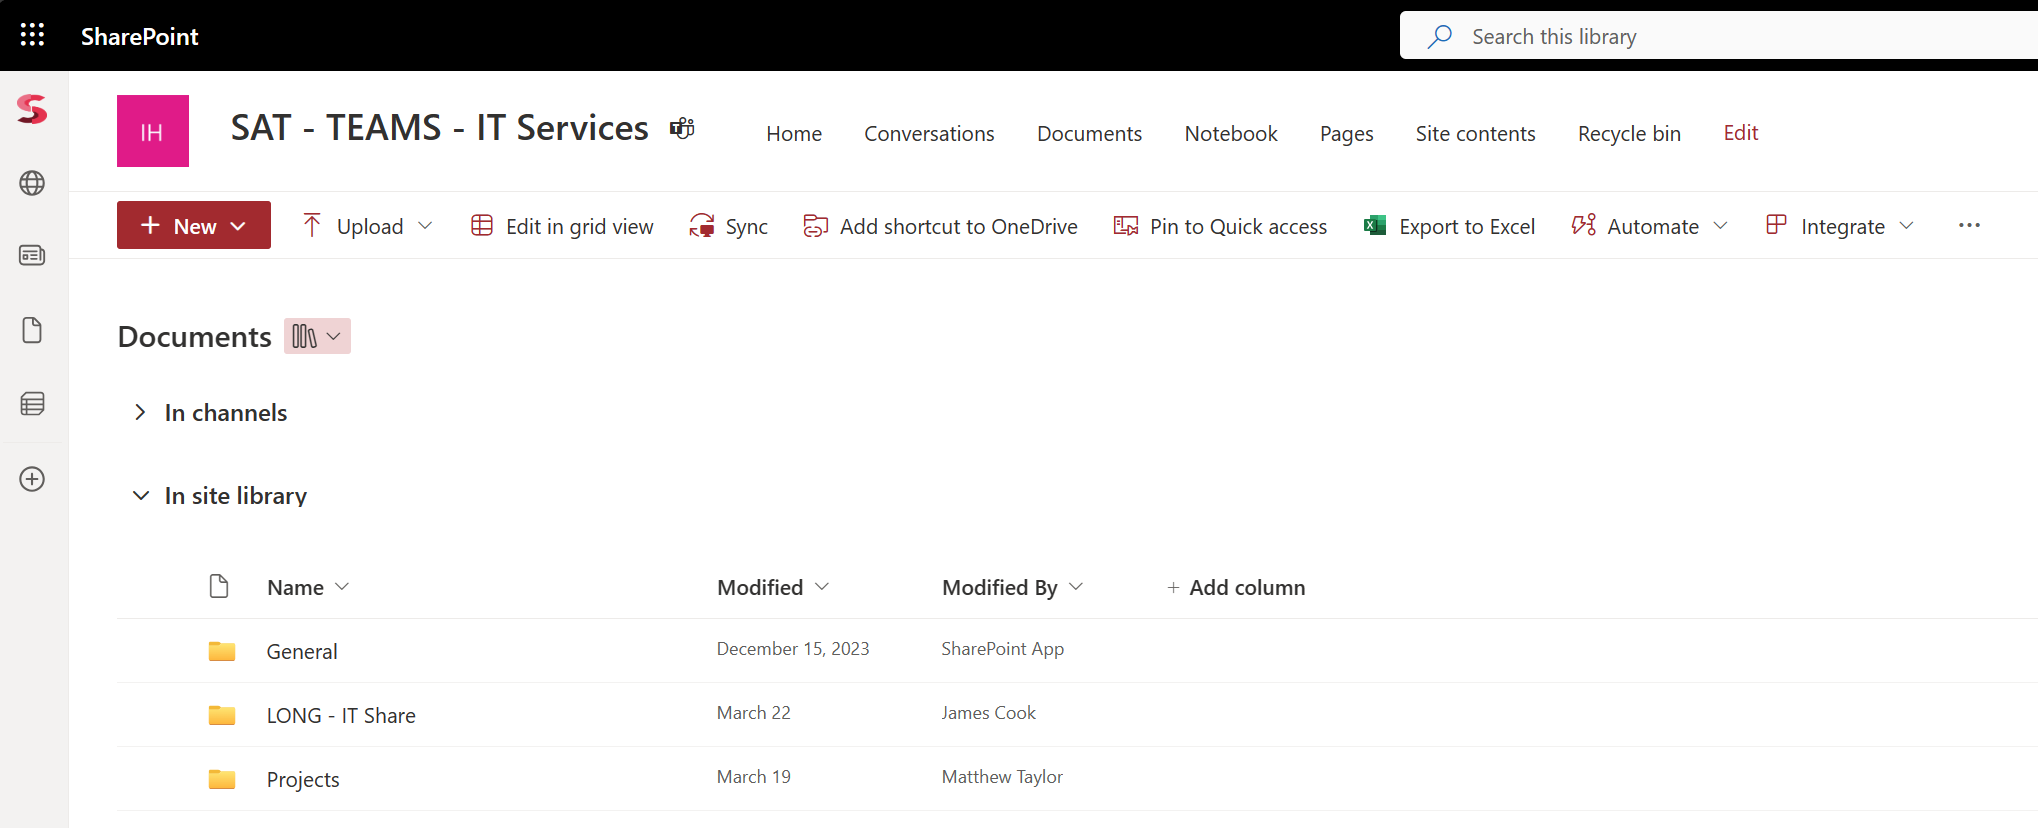
Step 2: Access the Library
- Find Your Library: On the SharePoint site, locate and click on the library you wish to sync.
- Open the Library: Click on the library name to open it. You’ll see a list of folders and files within the library.
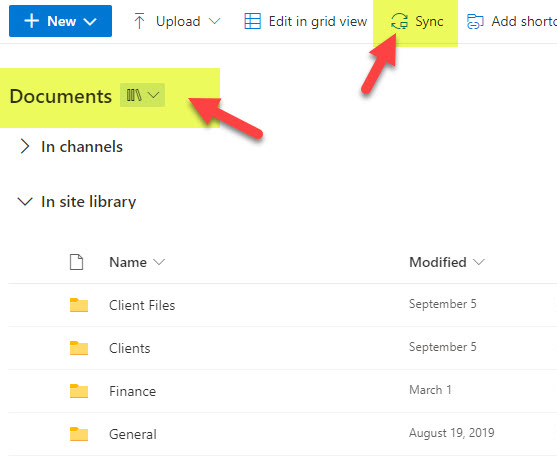
Step 3: Start the Sync Process
- Locate the Sync Button: Once inside the library, look for a button labelled ‘Sync’ – it usually appears at the top or near the library's name.
- Click 'Sync': Clicking this button will prompt a pop-up window or a dialog box, asking for permission to open Microsoft OneDrive (the app used to sync your files).
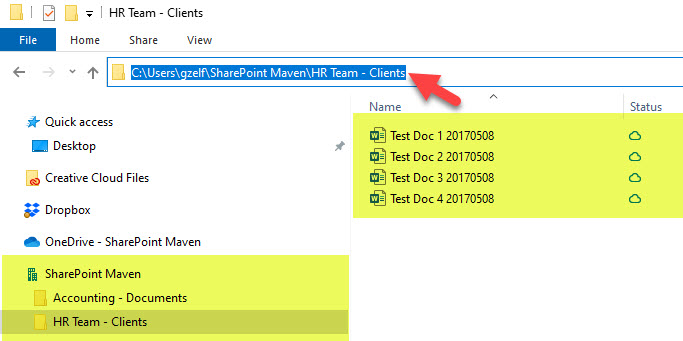
Step 4: Access Your Files Offline
- Find Your Synced Library on Your Computer: Once synced, your SharePoint library will appear as a folder on your computer. On Windows, it’s usually under ‘This PC’ in File Explorer. On a Mac, it's in the Finder under ‘Favourites’.
- Work Offline: You can now access, edit, and manage these files even when you’re not connected to the internet. Any changes you make will be automatically synced back to the SharePoint site the next time you are online.
By following these simple steps, you can effortlessly sync your SharePoint library to your device, ensuring you have the files you need, right when you need them, with or without an internet connection. Happy syncing!
